How to Take Apart a Kid's Spiderman Scooter
Scooters are a favorite among children, providing hours of fun and excitement. The Spiderman-themed scooter, in particular, appeals to young fans of the superhero, combining playtime with their favorite character. However, there may come a time when you need to take the scooter apart, whether for repair, storage, or cleaning. In this article, we will provide a comprehensive guide on how to safely and efficiently disassemble a kid’s Spiderman scooter.
Tools You Will Need
Before embarking on the disassembly process, gather the necessary tools to ensure a smooth operation. You will typically need
1. Screwdriver Set Make sure you have both Phillips and flathead screwdrivers. 2. Allen Wrenches Some scooters may require specific Allen wrench sizes. 3. Pliers Useful for gripping and pulling out stubborn parts. 4. Lubricant This can help in loosening any parts that may be stuck together. 5. Container for Screws and Small Parts To keep everything organized.
Step-by-Step Guide
Step 1 Safety First
Before starting, ensure that the scooter is clean and dry. If there are any dirt or debris on the scooter, take a cloth and wipe it down. Ensure that the working area is spacious and well-lit to avoid any accidents.
Step 2 Remove the Handlebars
Begin your disassembly by removing the handlebars. Look for the bolts or screws that hold the handlebars in place at the junction where they meet the scooter’s deck. Using the appropriate screwdriver or Allen wrench, carefully unscrew and remove these fasteners. Once removed, gently pull the handlebars out of the base. Make sure to keep the screws in your designated container.
Step 3 Detach the Deck
lehuo how to take apart kids spiderman scooter

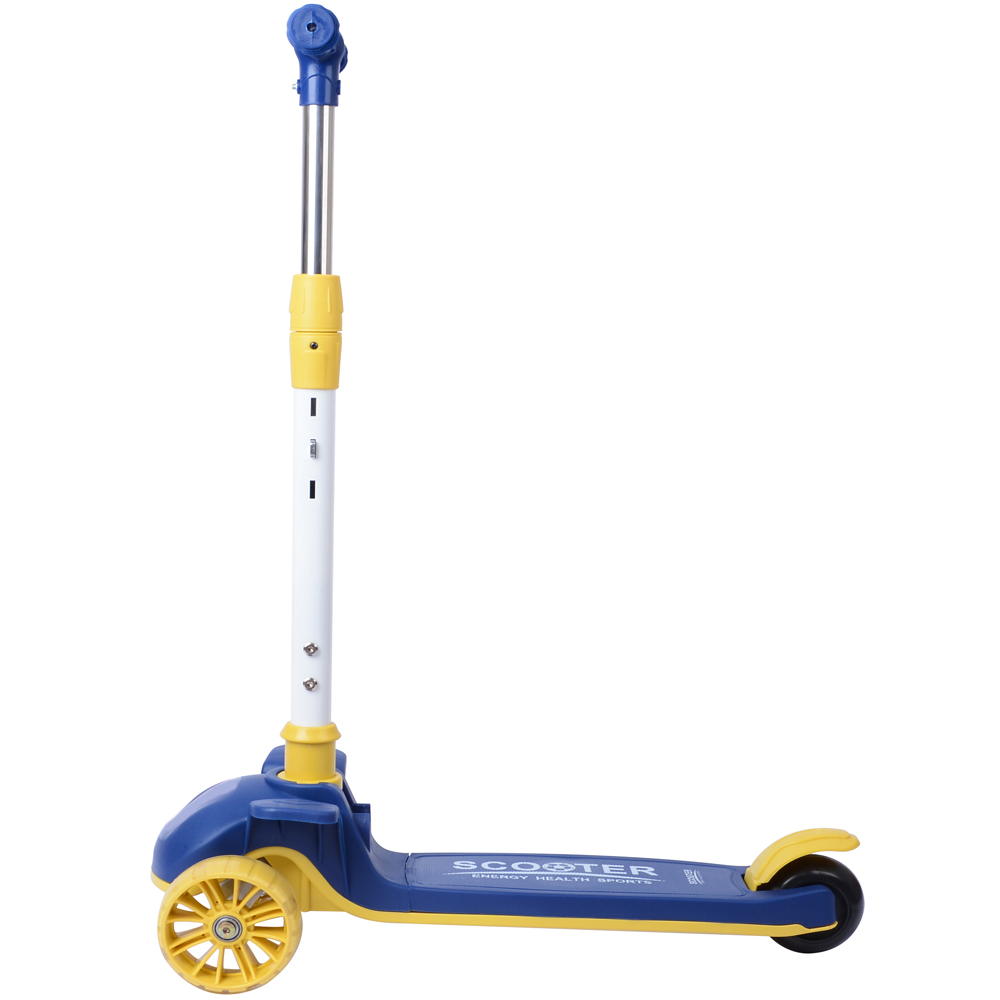
Next, you will want to detach the deck of the scooter. The deck is the part where the rider stands. Similar to the handlebars, locate the screws or bolts holding the deck to the frame. Use your tools to remove them, being careful not to strip the screws in the process. Once all screws are removed, lift the deck off the frame.
Step 4 Inspect and Remove the Wheels
The wheels of the scooter are often held in place by nuts or bolts. Depending on your scooter model, you might need to use pliers to loosen them. Remove the nuts or bolts from each wheel and gently pull the wheels off the axles. Take this opportunity to inspect the wheels for any signs of wear or damage. This is also a good time to clean them or replace them if necessary.
Step 5 Check Additional Components
Some scooters may have additional components, such as a brake or folding mechanism. If your Spiderman scooter has these features, look for any screws or bolts holding them in place and carefully remove them. Document where each part belongs for easier reassembly later on.
Step 6 Store or Clean the Parts
After you have successfully disassembled the scooter, you can either store the parts for future use or proceed to clean them thoroughly. If you’re cleaning, use appropriate cleaners to remove dirt and grime, ensuring that no moisture gets into the internal components.
Step 7 Reassemble When Ready
Once you are done with repairs, cleaning, or modifications, you can reassemble the scooter by reversing the steps mentioned above. Make sure to tighten all screws properly to ensure stability and safety.
Conclusion
Disassembling a kids’ Spiderman scooter can seem daunting, but it is a straightforward process with the right tools and guide. Whether you wish to repair it, clean it, or store it safely, following the above steps will allow you to manage this task effectively. Remember, always prioritize safety during the process, and take your time to avoid any mishaps. Happy scooting!
-

 Scoot&RideKids Child Kick Push Scooter 3 Wheels with LED Flashing Tilt Lean Boys Girls Scooter


- 4
$33.17 -

 Scoot&RideKids Scooter Child Kick Flashing LED Light Up 3 Wheel Push Adjustable Folding 3
- 0
$25.52 -

 Scoot&RideKids Scooter Child Kick Flashing LED Light Up 3 Wheel Push Adjustable Folding 2
- 0
$33.17 -

 Scoot&RideKids Scooter Teens Foldable Kick Push Scooter Adjustable Height Safe 2 Wheels


- 4
$49.99
Meet our partners and discover what powers their creativity!
When you register for a Lohas scooter, you will receive a 10% discount on your first order and can be notified of sales, new product launches and other offers in advance.


