Assembly Guide for the Lehuo Halo JR Scooter
The Lehuo Halo JR Scooter is an exciting and innovative ride designed for kids and young teenagers. With its stylish design, sturdy frame, and smooth riding experience, the Halo JR promises endless fun and adventure. However, to maximize your enjoyment, it’s essential to ensure you assemble the scooter correctly. This guide will help you navigate the assembly process step by step, making it quick and hassle-free.
Step 1 Unboxing
Before you can ride your Lehuo Halo JR Scooter, you'll want to take a moment to unbox it properly. Carefully remove the scooter from the packaging, ensuring you do not damage any of the parts. Check to see that all components are present the scooter deck, handlebars, front wheel, rear wheel, brakes, and the necessary assembly tools. Having everything laid out will make the process smoother.
Step 2 Attaching the Handlebars
Begin your assembly by attaching the handlebars to the scooter deck. Take the handlebars and align them with the corresponding hole on the deck. Ensure they are oriented in the direction you prefer for riding. Once aligned, insert the screws and tighten them using the provided tool. It’s crucial to ensure the handlebars are secure as they provide stability and control while riding.
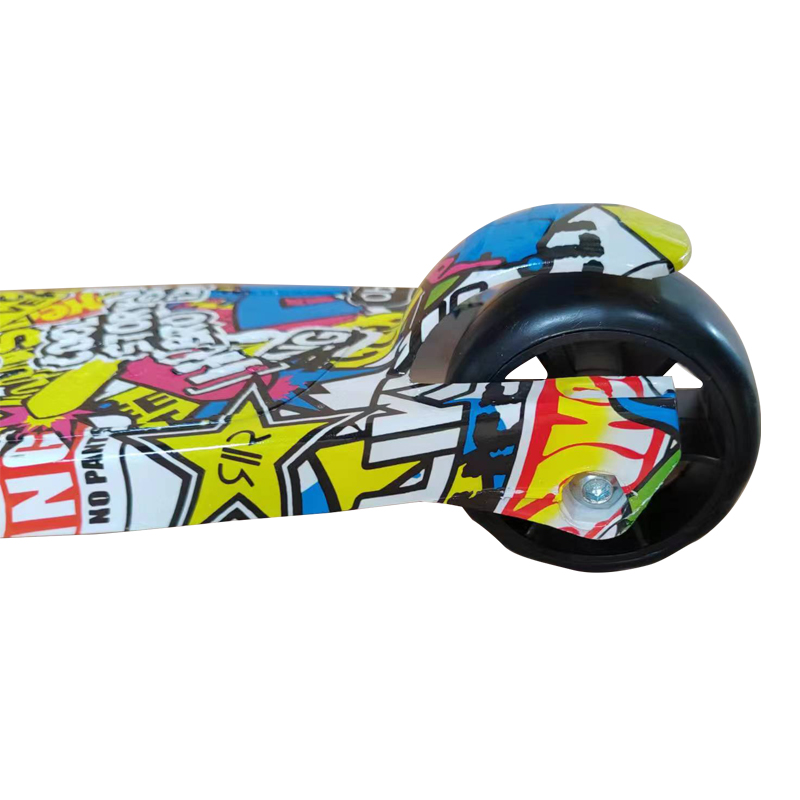
Step 3 Installing the Front Wheel
The next step is installing the front wheel. Locate the front fork on the scooter, which is designed to hold the wheel. Slide the front wheel into the fork until it fits snugly. Depending on your scooter model, you may have a quick-release mechanism or require bolts to secure the wheel in place. If bolts are necessary, make sure to use the appropriate tools from your assembly kit to fasten them securely.
Step 4 Attaching the Rear Wheel
lehuo halo jr scooter assembly
Similar to the front wheel, install the rear wheel by sliding it into the rear fork of the scooter. Ensure it is aligned correctly and secure. Double-check the tightness of both wheels to avoid any accidents while riding.
Step 5 Installing the Brakes
Brakes are critical for safe riding. Check the assembly instructions for your model on brake installation, which usually involves attaching a brake lever to the handlebars and connecting the brake cable to the rear wheel. Ensure that the brakes engage properly when pressed and that they are adjusted according to your comfort level. Safety should always come first, especially for children!
Step 6 Final Checks
With the main components assembled, it’s time for final checks. Inspect each connection and make sure everything is tight and secure. Lift the scooter slightly and spin the wheels to ensure they move freely. Adjust the handlebars and brakes for comfort and control. If you notice anything out of place, address it before allowing your child to ride.
Step 7 Safety Gear
Before hitting the road, remind your child of the importance of wearing safety gear. Helmets, knee pads, and elbow pads can make all the difference in ensuring a safe riding experience. Emphasize the rules of riding in safe areas away from traffic and obstacles.
Conclusion
Assembling the Lehuo Halo JR Scooter should be a straightforward and enjoyable task. By following these steps and prioritizing safety, you can ensure your child is ready for weeks of exciting adventures on their new scooter. Through proper assembly and safe riding practices, the Lehuo Halo JR Scooter will provide fantastic memories and experiences for both kids and parents alike. Now, get ready to ride!

-

 Scoot&RideKids Child Kick Push Scooter 3 Wheels with LED Flashing Tilt Lean Boys Girls Scooter
- 4
$33.17 -
 Scoot&RideKids Scooter Child Kick Flashing LED Light Up 3 Wheel Push Adjustable Folding 3
- 0
$25.52 -
 Scoot&RideKids Scooter Child Kick Flashing LED Light Up 3 Wheel Push Adjustable Folding 2
- 0
$33.17 -
 Scoot&RideKids Scooter Teens Foldable Kick Push Scooter Adjustable Height Safe 2 Wheels
- 4
$49.99
Meet our partners and discover what powers their creativity!
When you register for a Lohas scooter, you will receive a 10% discount on your first order and can be notified of sales, new product launches and other offers in advance.


