How to Take a Kid's Scooter Apart for Travel
Traveling with kids can be a delightful adventure, but it often requires careful planning, especially when it comes to transporting their favorite toys and modes of transport, such as scooters. If you want to take your child's scooter on your next trip but are unsure how to disassemble it for easy transport, this guide will walk you through the process.
1. Gather Your Tools
Before getting started, ensure you have all necessary tools on hand. Typically, you will need
- A small adjustable wrench or a set of Allen keys (depending on the scooter model) - A screwdriver (flathead or Phillips, depending on the screws) - A clean, soft cloth to wipe down parts if needed
2. Safety First
Before you begin disassembling the scooter, check that your child is safely away from the area where you will be working. This ensures both their safety and that you can work without distractions. It’s also a good idea to take a few moments to go over the scooter to ensure there are no loose parts or damage that might complicate disassembly.
3. Remove the Handlebar
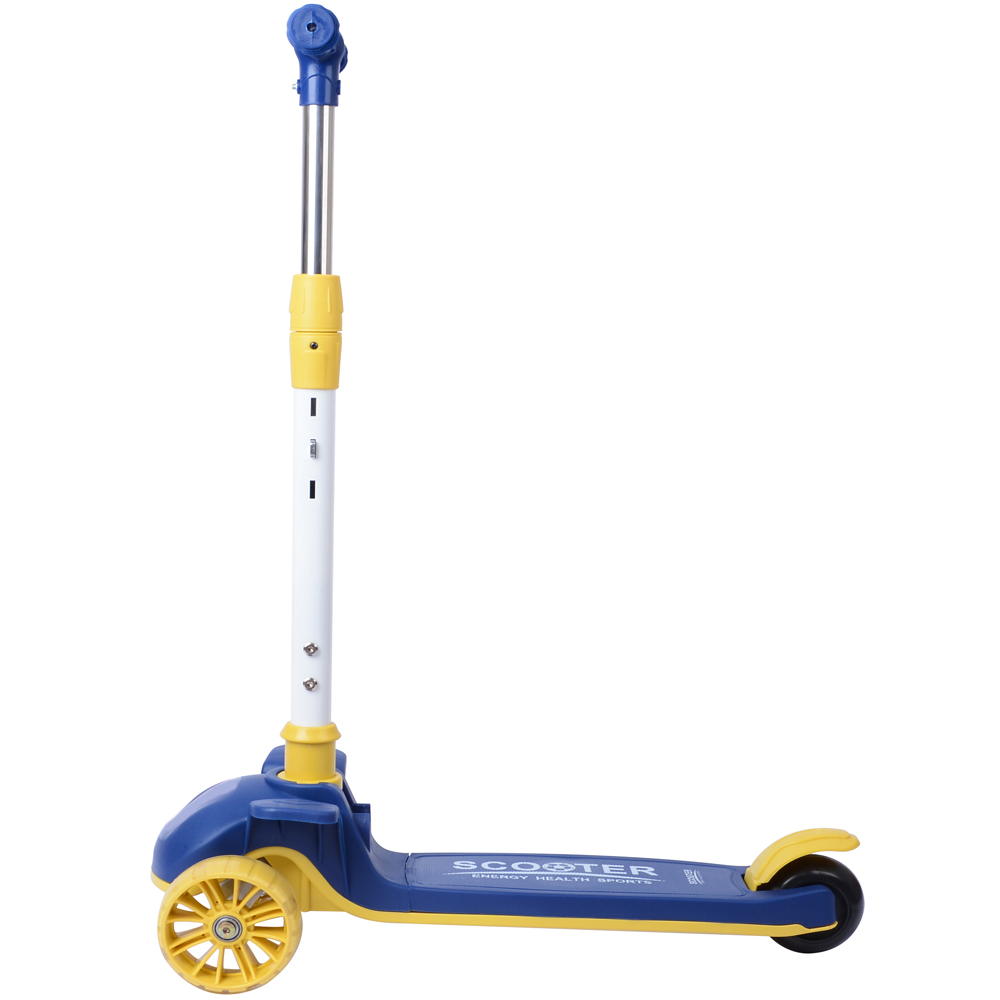
Most kid's scooters come with a handlebar that can be easily detached. Look for a quick-release mechanism or screws securing the handlebar to the stem. If it has a quick-release, simply pull the lever and lift the handlebar off. If it requires screws, use the appropriate tool to loosen and remove them. Once detached, set the handlebar aside.
4. Take Off the Deck
The scooter's deck is the platform where your child stands. In many scooters, the deck can also be removed or folded. For scooters with a folding mechanism, locate the latch (usually near the rear wheel) and follow the instructions to fold it. If the deck is attached with screws or bolts, use your tools to remove them. Again, set the deck aside carefully.
lehuo how to take a kids scooter apart for travel

Some scooters come with detachable wheels, making it easier to pack. To remove them
- Check for quick-release levers or screws securing the wheels in place. If they are attached using quick releases, simply pull on the lever to release them. If screws are used, unscrew them carefully. - Gently pull each wheel off the axle, remembering that some models may require a bit of coaxing to dislodge them.
6. Maintain Organization
As you disassemble the scooter, it’s crucial to keep all parts organized. Consider using small bags to store screws, bolts, and small components so that they don’t get lost during travel. Label each bag accordingly if you’re disassembling multiple scooters or toys, ensuring that reassembly will be a breeze.
7. Clean the Parts
While you have the scooter disassembled, take the opportunity to inspect and clean the parts. Wipe down the wheels and deck with a cloth to remove any dirt or debris. A quick check for wear and tear will help ensure a smooth ride once reassembled.
8. Pack the Parts
Once everything is cleaned and organized, you can begin packing. Using a sturdy backpack or travel case, carefully place the parts in the order they were disassembled. This will help during reassembly at your destination. Remember to tuck the bag with screws and additional parts to avoid any mishaps.
9. Reassemble at Your Destination
Upon arrival, it’s time to reassemble the scooter. Follow the disassembly steps in reverse, ensuring that everything is secured properly. Make sure to test the scooter once it’s back together to confirm that it is safe for your child to use.
Conclusion
Disassembling your child's scooter for travel doesn’t have to be a daunting task. With a bit of organization and the right tools, you can ensure easy transport and hassle-free reassembly. So the next time you plan a trip, feel confident in taking your little one's scooter along for the ride, making their travel experience all the more enjoyable. Happy traveling!
-

 Scoot&RideKids Child Kick Push Scooter 3 Wheels with LED Flashing Tilt Lean Boys Girls Scooter


- 4
$33.17 -

 Scoot&RideKids Scooter Child Kick Flashing LED Light Up 3 Wheel Push Adjustable Folding 3
- 0
$25.52 -

 Scoot&RideKids Scooter Child Kick Flashing LED Light Up 3 Wheel Push Adjustable Folding 2
- 0
$33.17 -

 Scoot&RideKids Scooter Teens Foldable Kick Push Scooter Adjustable Height Safe 2 Wheels


- 4
$49.99
Meet our partners and discover what powers their creativity!
When you register for a Lohas scooter, you will receive a 10% discount on your first order and can be notified of sales, new product launches and other offers in advance.


