How to Make Your Own One-Board Scooter for Kids
Creating your own one-board scooter for kids can be a fun and rewarding project. It not only encourages creativity but also provides a sense of accomplishment when the scooter is completed and ready for use. Building a scooter can be a great bonding activity between parents and children, promoting both learning and quality time. In this article, we will guide you through the steps to make your own one-board scooter.
Materials Needed
Before you start building your scooter, gather the necessary materials. Here’s a list of what you’ll need
1. Plywood or MDF Board – A piece of sturdy plywood or medium-density fiberboard, about 3/4 inch thick, measuring approximately 24x6 inches for the deck. 2. Wheels – Four wheels are necessary for stability. You can use swivel caster wheels, which are easy to find at hardware stores. 3. Axles – These can be made from metal rods, dowels, or another sturdy material that will fit through the wheels and securely attach to the board. 4. Griptape – For safety and better grip, you’ll need adhesive griptape to cover the deck. 5. Wood screws or bolts – To secure the wheels onto the board. 6. Sandpaper – To smooth out rough edges. 7. Paint or stickers (optional) – For customization and personalization. 8. Tools – You’ll need a drill, saw, screwdriver, and measuring tape.
Step-by-Step Instructions
Step 1 Designing the Deck
Begin by designing the shape of your scooter deck. The standard dimensions should be around 24 inches long and 6 inches wide. Use a pencil to sketch your desired shape on the plywood or MDF board. Common shapes include rectangular or slightly curved designs for added aesthetics.
Step 2 Cutting the Board
Once you’ve completed your design, carefully cut the board using a saw. It’s very important to ensure that the cuts are straight and smooth. After cutting the deck, use sandpaper to smooth out any rough edges to prevent splinters and ensure safety.
Step 3 Attaching the Wheels
how to make your own one board scooter for kids
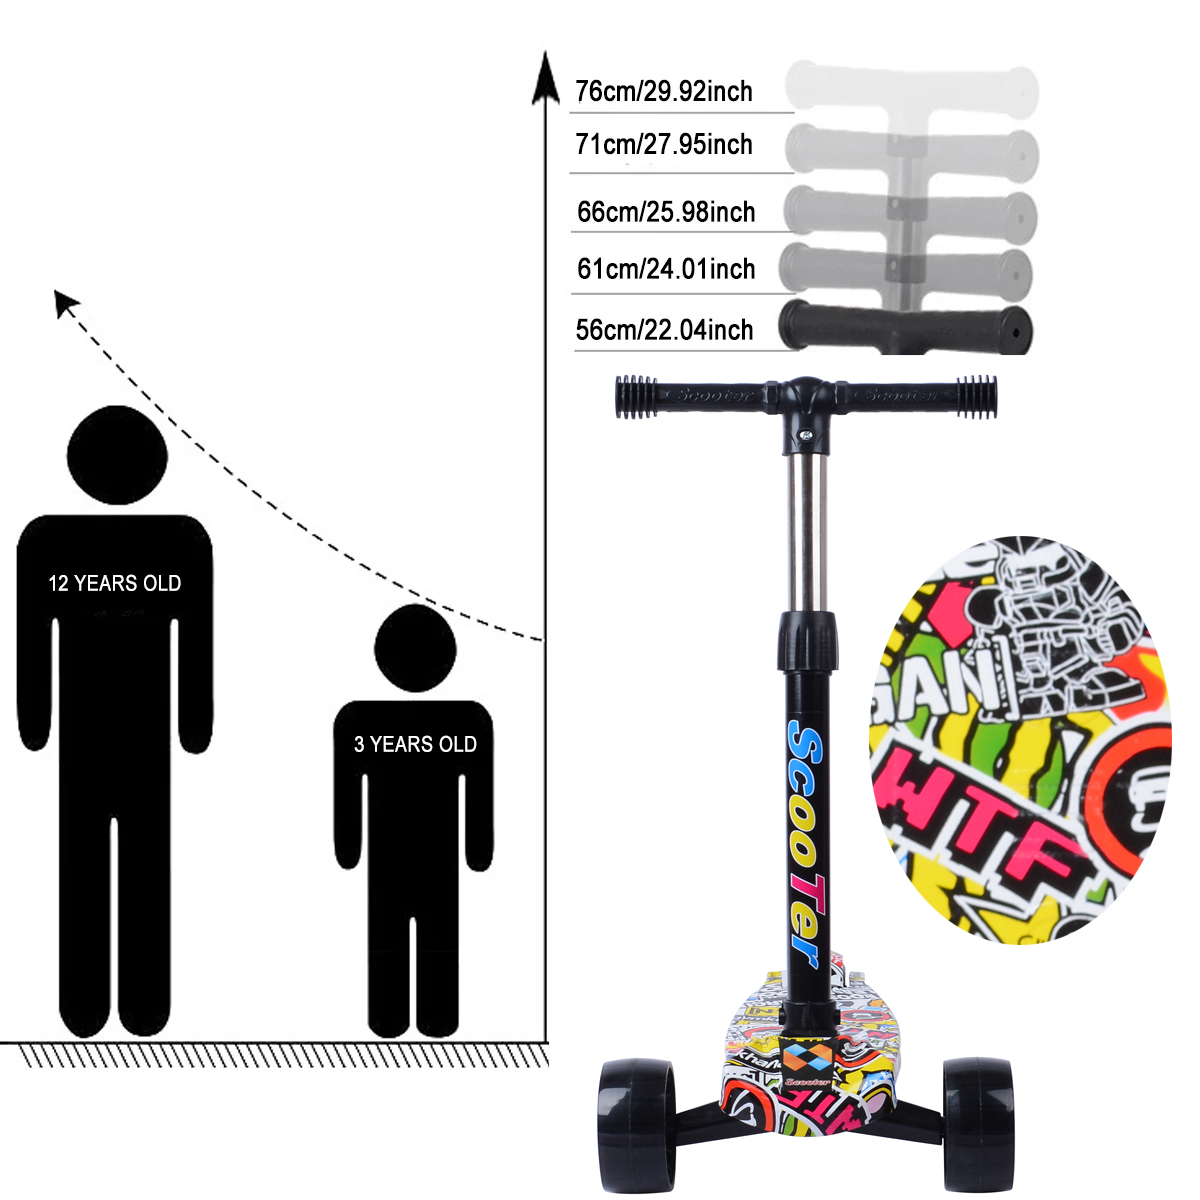
Next, measure and mark the positions for the wheels. A good configuration is to place two wheels at the front and two at the back. Drill holes through the board for the axle placements, ensuring they are aligned properly. Once the holes are ready, insert the axles and attach the wheels securely using wood screws or bolts. Make sure to tighten them well to facilitate smooth rolling.
Step 4 Adding Griptape
To enhance safety, apply the griptape to the top surface of the deck. You can find griptape at any skateboard shop or online. Cut the tape to the size of your deck and carefully apply it, ensuring there are no air bubbles.
Step 5 Customizing the Scooter
This is the fun part! Allow your child to personalize the scooter. You can paint the wood deck in bright colors, or use stickers to make it more visually appealing. This step not only boosts your child's confidence but also makes the scooter feel more like their own creation.
Step 6 Final Check
Before your child hops on their newly built scooter, do a final inspection. Check the tightness of the wheels, ensure the griptape is firmly attached, and look for any sharp edges or loose screws. Safety should always be the top priority.
Step 7 Enjoying the Ride
Once everything checks out, it’s time to enjoy the fruits of your labor! Take the scooter outside, and supervise your child as they learn to ride. Ensure they're wearing appropriate safety gear, including a helmet, knee pads, and elbow pads.
Conclusion
Building a one-board scooter for kids involves simple materials and tools, yet it offers a wonderful opportunity for creativity and learning. This project can be a perfect weekend activity that results in an exciting and practical toy for your children. Not only will they enjoy riding the scooter, but they will also take pride in having made it themselves. So gather your materials and get started on this fantastic DIY adventure!
-

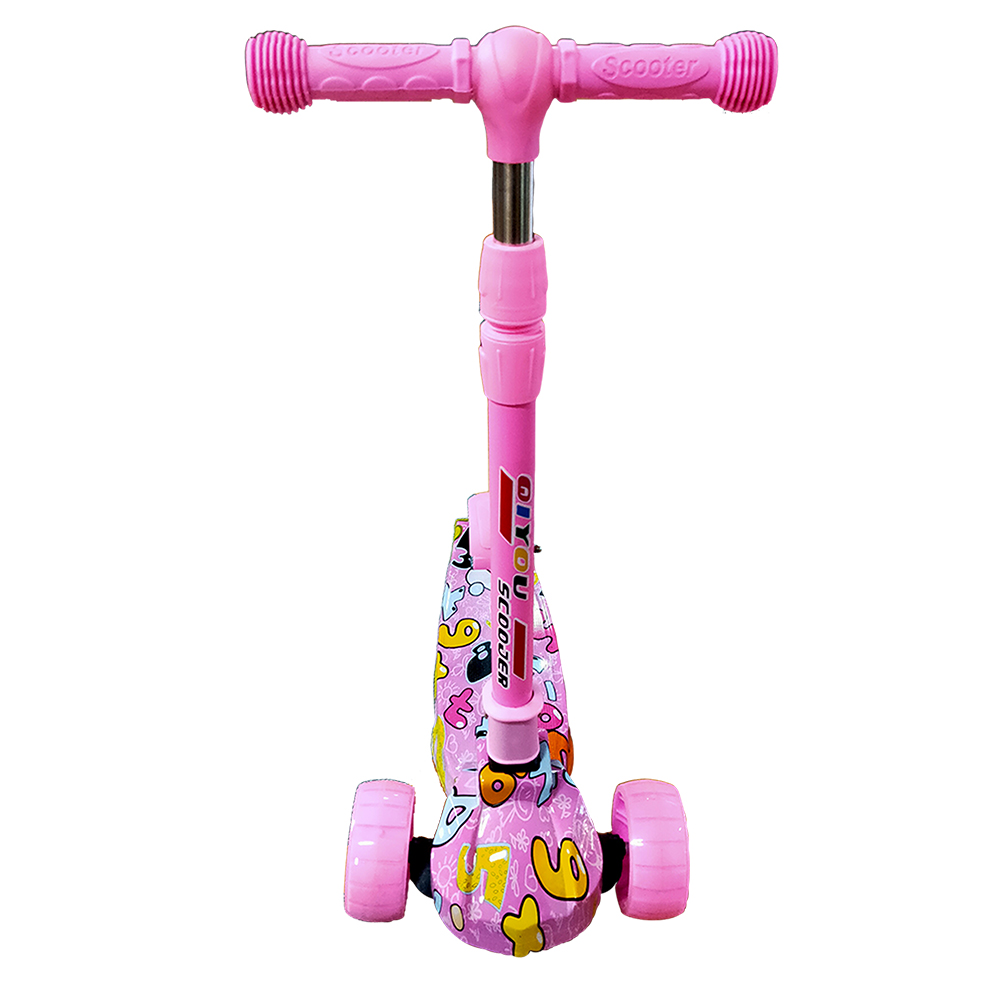 Scoot&RideKids Child Kick Push Scooter 3 Wheels with LED Flashing Tilt Lean Boys Girls Scooter


- 4
$33.17 -

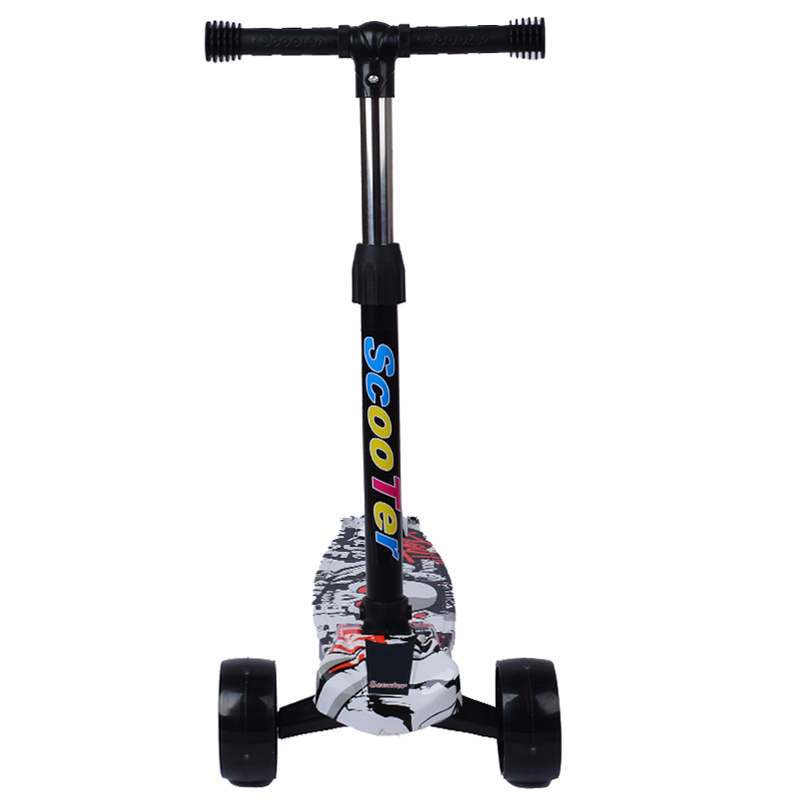 Scoot&RideKids Scooter Child Kick Flashing LED Light Up 3 Wheel Push Adjustable Folding 3
- 0
$25.52 -

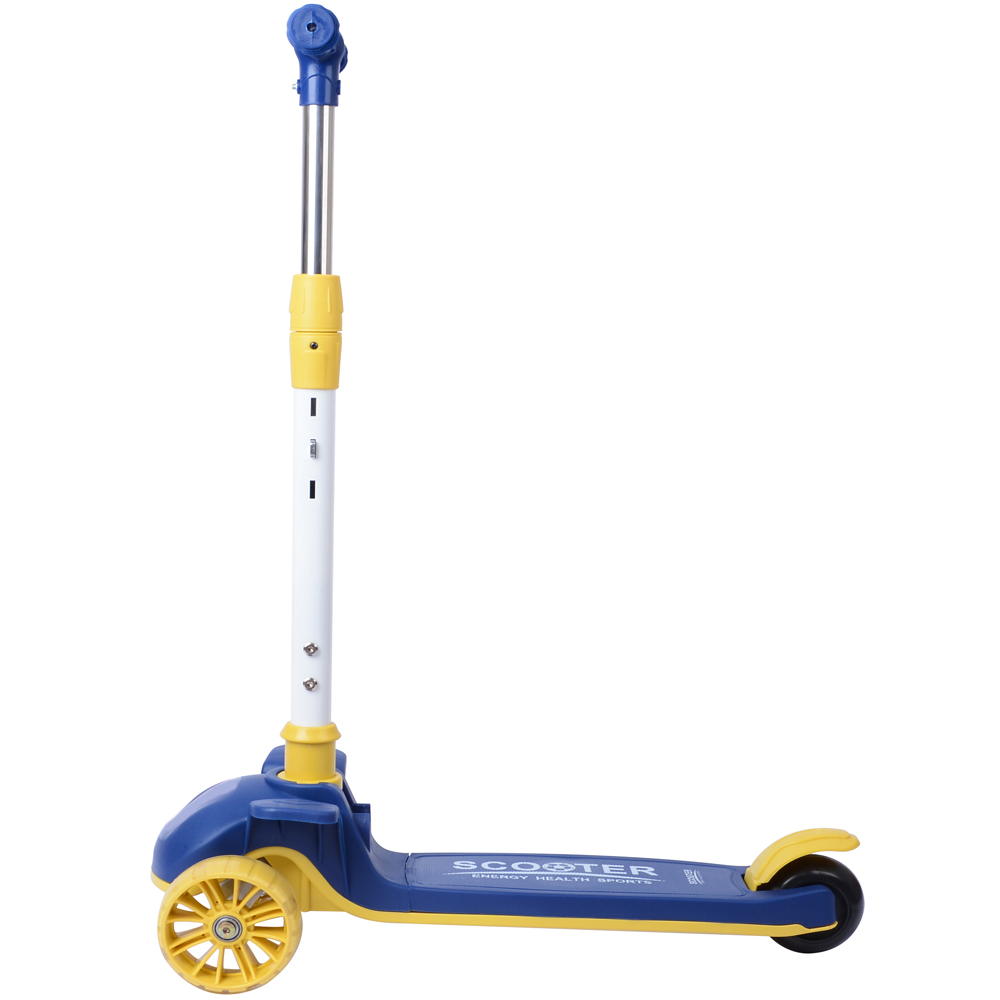 Scoot&RideKids Scooter Child Kick Flashing LED Light Up 3 Wheel Push Adjustable Folding 2
- 0
$33.17 -

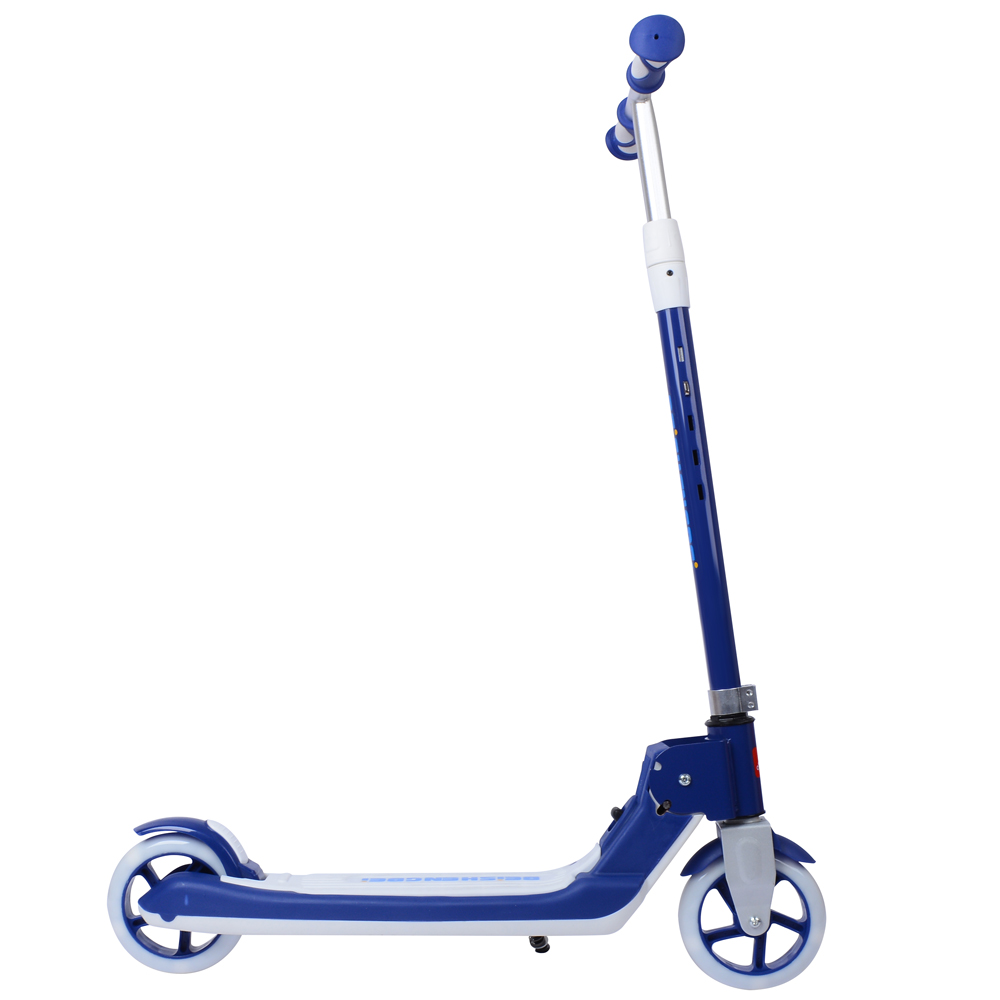 Scoot&RideKids Scooter Teens Foldable Kick Push Scooter Adjustable Height Safe 2 Wheels


- 4
$49.99
Meet our partners and discover what powers their creativity!
When you register for a Lohas scooter, you will receive a 10% discount on your first order and can be notified of sales, new product launches and other offers in advance.


