How to Draw a Scooter for Kids
Drawing can be a fun and creative activity for kids, and what could be more enjoyable than learning to draw a scooter? Scooters are not only a popular mode of transport for kids but also a symbol of freedom and playfulness. In this article, we’ll go through some simple steps that will help kids draw their very own scooter. All you need is some paper, a pencil, and a big dose of imagination!
Step 1 Gather Your Materials
Before you start drawing, it’s important to gather all the materials you need. Grab a piece of paper, a pencil, an eraser, and some colored pencils or markers. Having good quality paper will make a difference, so choose something that feels nice to draw on.
Step 2 Start with the Deck
To begin, we need to draw the scooter's deck, which is the flat part where the rider stands. Start by drawing a long rectangle horizontally in the middle of your paper. Make sure the rectangle has rounded corners; this will make it look smoother and more appealing. The size of the rectangle depends on how you want your scooter to appear, but a good length would be about three times its width.
Step 3 Draw the Wheels
Next, let’s add the wheels. At each end of the rectangle, draw a circle for the wheels. Make sure they are big enough to give your scooter a sturdy look but not too oversized compared to the deck. You can add a smaller circle inside each wheel to represent the hub. It's fun to add details like spokes or even tread lines to make the wheels look more realistic!
Step 4 Add the Handlebars
Now it’s time to draw the handlebars, which are essential for steering the scooter. On one end of the rectangle (the front), draw two vertical lines going upwards. Connect these lines at the top with a horizontal line to form the handlebar. You can make the handlebar look unique by adding grips at the ends, which can be represented by small dots or curves.
lehuo how to draw scooter for kids
Step 5 Create the Fork
The fork is what connects the handlebars to the deck and supports the front wheel. From the bottom of the handlebars, draw two diagonal lines going down towards the front wheel, forming a triangular shape. These lines should meet about the same height as the top of the wheel. Now, connect these lines to the deck with a short horizontal line, and you have completed the fork!
Step 6 Finishing Touches
At this point, your basic scooter shape is complete! Now it’s time for the fun part—adding colorful details. Think about what colors your scooter will be. You can draw fun patterns, stripes, or even stickers on the deck. Don’t forget to add some shading to the wheels and handlebars to give them a 3D effect.
Step 7 Add a Rider (Optional)
If you feel adventurous, you can add a rider to your scooter! Start by drawing a simple stick figure on the deck. Give them arms and legs, and don’t forget to add a helmet for safety! You can embellish the rider with your own creative touches like a colorful outfit or accessories.
Step 8 Finalize Your Drawing
Once you are satisfied with your scooter and rider, outline your drawing with a black pen or marker. This will make your scooter stand out. After the ink dries, carefully erase any pencil lines that are no longer needed. Finally, you can color in your scooter and rider, bringing your artwork to life!
Conclusion
Drawing a scooter is a delightful activity that can help kids enhance their creativity and fine motor skills. It's a great way to express themselves while having fun! Encourage your kids to experiment with different designs and colors, creating a whole fleet of scooters! Remember, there’s no right or wrong way to draw; the most important thing is to enjoy the process and let your imagination run wild. Happy drawing!
-

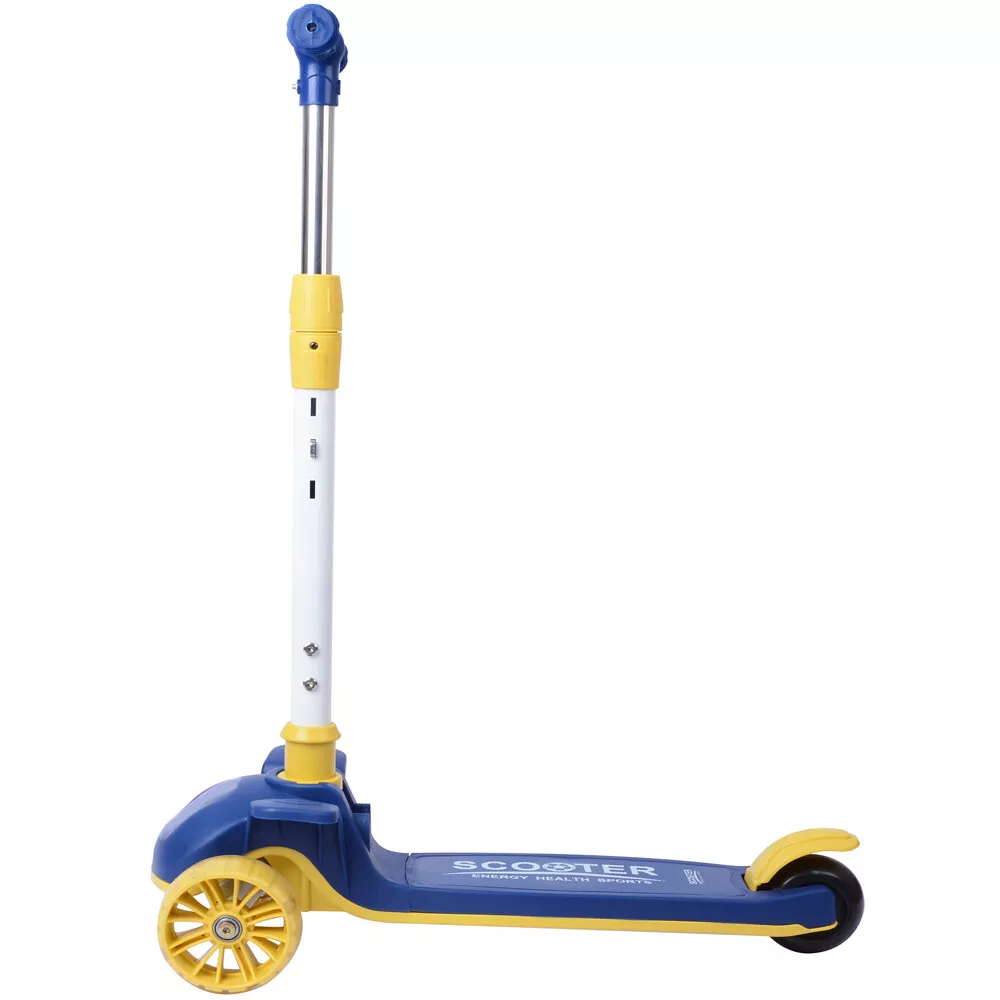
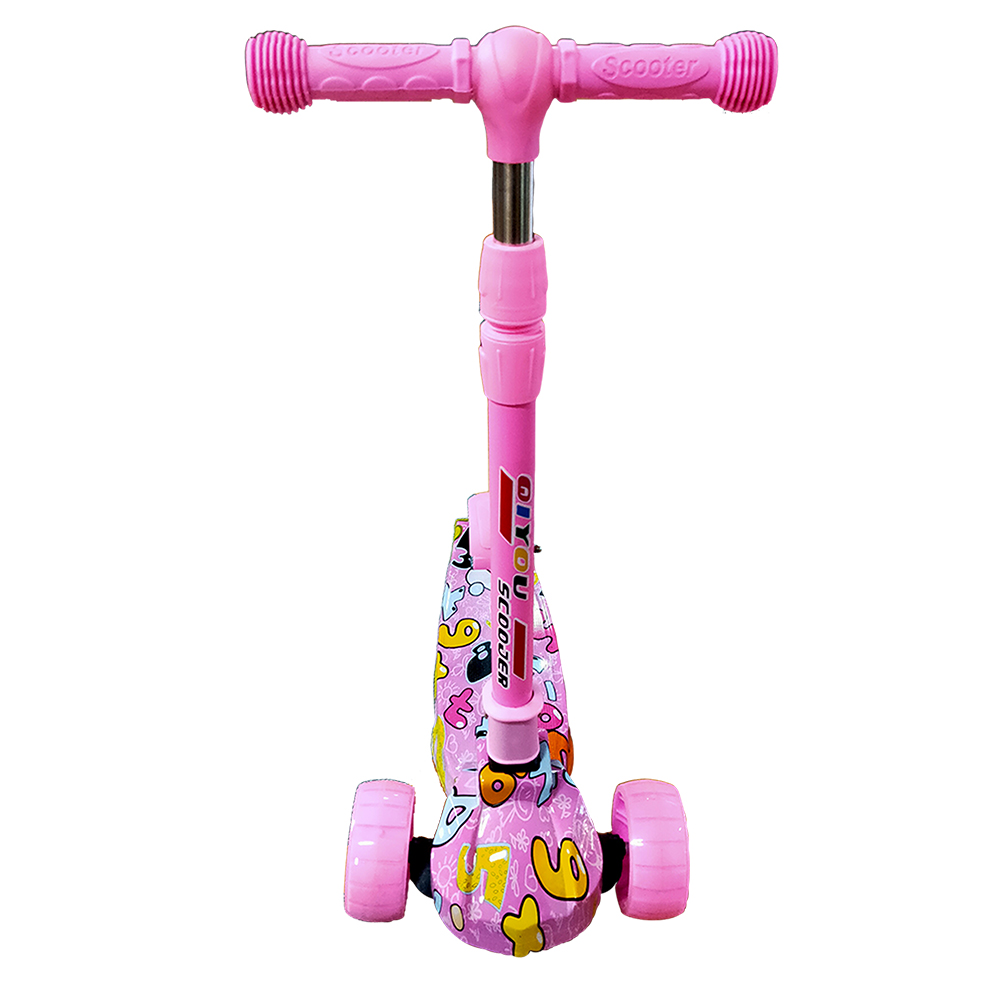 Scoot&RideKids Child Kick Push Scooter 3 Wheels with LED Flashing Tilt Lean Boys Girls Scooter


- 4
$33.17 -

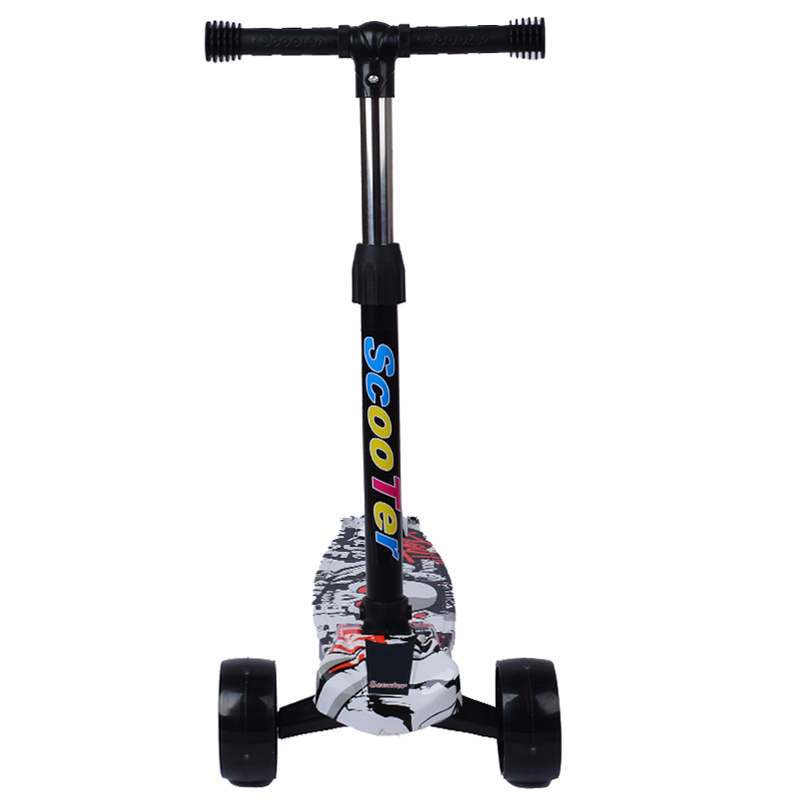 Scoot&RideKids Scooter Child Kick Flashing LED Light Up 3 Wheel Push Adjustable Folding 3
- 0
$25.52 -

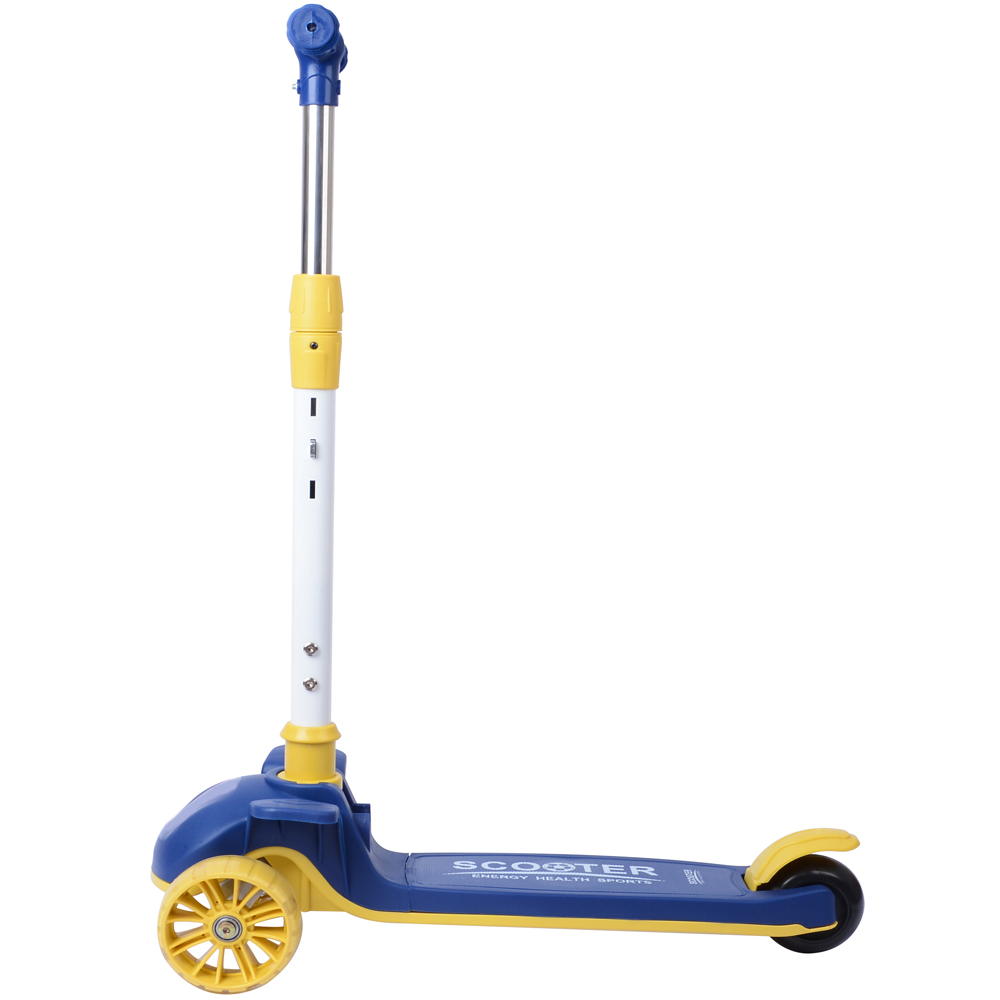 Scoot&RideKids Scooter Child Kick Flashing LED Light Up 3 Wheel Push Adjustable Folding 2
- 0
$33.17 -

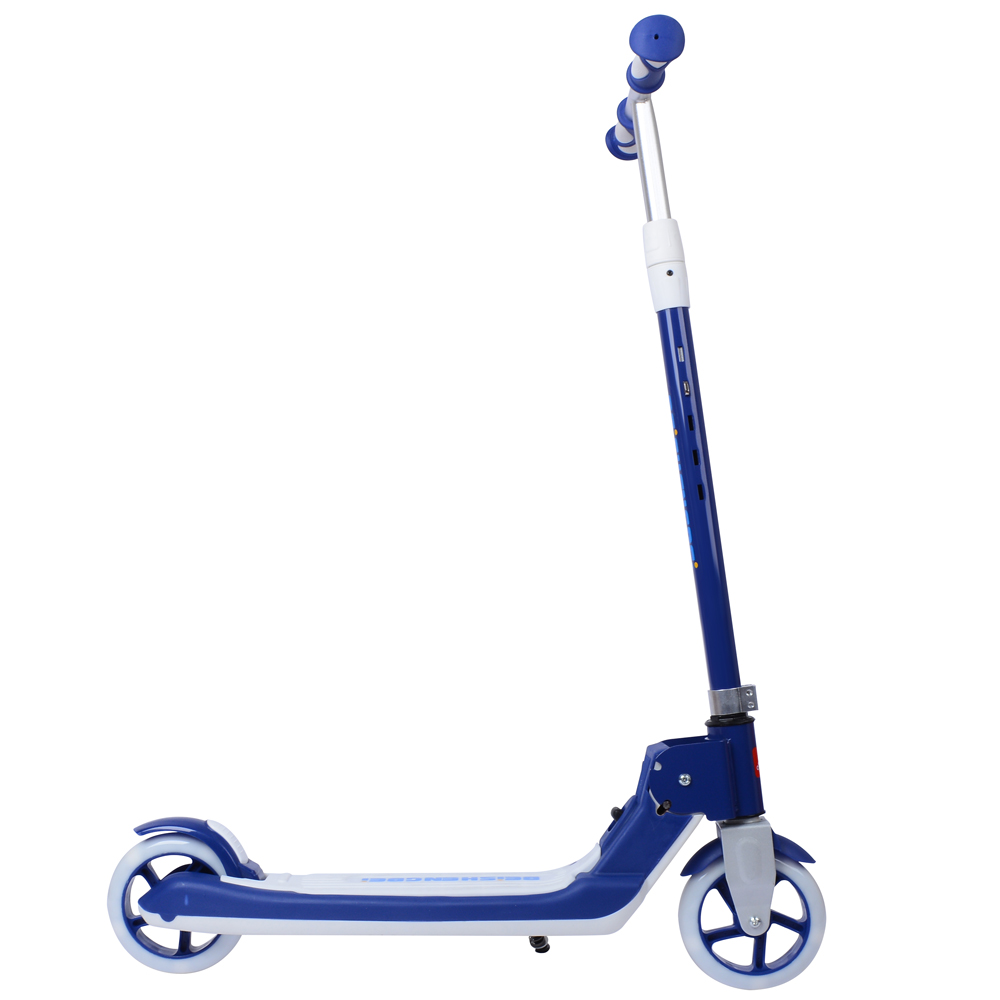 Scoot&RideKids Scooter Teens Foldable Kick Push Scooter Adjustable Height Safe 2 Wheels


- 4
$49.99
Meet our partners and discover what powers their creativity!
When you register for a Lohas scooter, you will receive a 10% discount on your first order and can be notified of sales, new product launches and other offers in advance.


