How to Take a Kid’s Scooter Apart
Scooters are a delightful way for kids to enjoy outdoor activities, promote physical fitness, and enhance balance. However, over time, they might require maintenance or repair. Whether it’s to fix a squeaky wheel, replace a broken part, or simply for storage, knowing how to take apart a kid’s scooter can come in handy. This article will guide you through the essential steps to safely disassemble a kid’s scooter.
Step 1 Gather Your Tools
Before you start taking the scooter apart, ensure you have the right tools at your disposal. Typically, you’ll need - A screwdriver (Phillips or flathead depending on the screws on the scooter) - A hex key set (also known as an Allen wrench set) - Pliers (for stubborn or rusted bolts)
Additionally, having a clean workspace will help you keep track of all the parts and prevent any loss during the disassembly process
.Step 2 Prepare the Workspace
Choose a flat and stable surface to work on, preferably outside or in a garage. Lay down a cloth or a mat where you can work comfortably. It’s also a good idea to have a container or tray to keep the small screws and parts organized as you take them apart. This will save you from hunting around for components when you reassemble the scooter.
Step 3 Begin with the Handlebars
Start the disassembly process by taking off the handlebars. Look for the screws or bolts at the base of the handlebars. Depending on the scooter model, you might need to loosen screws or unscrew nuts. If you have a folding scooter, there may be a quick-release mechanism that you can easily pull to detach the handlebars. Carefully lift the handlebars away from the scooter deck and set them aside.
Step 4 Remove the Deck
lehuo how to take a kids scooter apart
Next, you will need to detach the deck from the scooter’s frame. Locate the screws or bolts at the base of the deck. If your scooter has any protective covers or plugs, gently pry them off with a flathead screwdriver to expose the screws beneath. Unscrew every bolt, and be cautious of the wires if your scooter has additional features such as lights or a horn. Once all screws are removed, lift the deck off from the frame.
Step 5 Detach the Wheels
The wheel assembly often needs to be taken off for maintenance or replacement. To do this, locate the axle that holds each wheel in place. Some scooters may have a nut or a bolt on the outside of the wheel. Use the correct size wrench or hex key to remove the axle. Repeat the process for each wheel, ensuring all washers and spacers are kept in your designated container.
Step 6 Inspect and Clean
Once you have disassembled all parts of the scooter, take a moment to inspect each component for wear and tear. Check the wheels for cracks and ensure they spin correctly. Look at the bearings for any signs of rust or damage, as these may need replacing. It’s also a great opportunity to give each part a thorough cleaning; use a damp cloth for the deck and handlebars, and a brush for any dirt on the wheels.
Step 7 Reassembly
After cleaning and inspecting, if parts need replacing, now is the time to do that. Follow the previously outlined steps in reverse order to reassemble the scooter. Ensure all screws are tightened properly and that each component is secure. Double-check that the handlebars are straight and the wheels are aligned before letting your child resume their rides.
Conclusion
Taking apart a kid’s scooter may seem daunting at first, but with the right tools and a methodical approach, it can be a straightforward task. Regular maintenance not only prolongs the life of the scooter but ensures a safe riding experience for your child. Remember to supervise kids while using tools, and always encourage them to respect their equipment by keeping it well-maintained. Happy scooting!

-

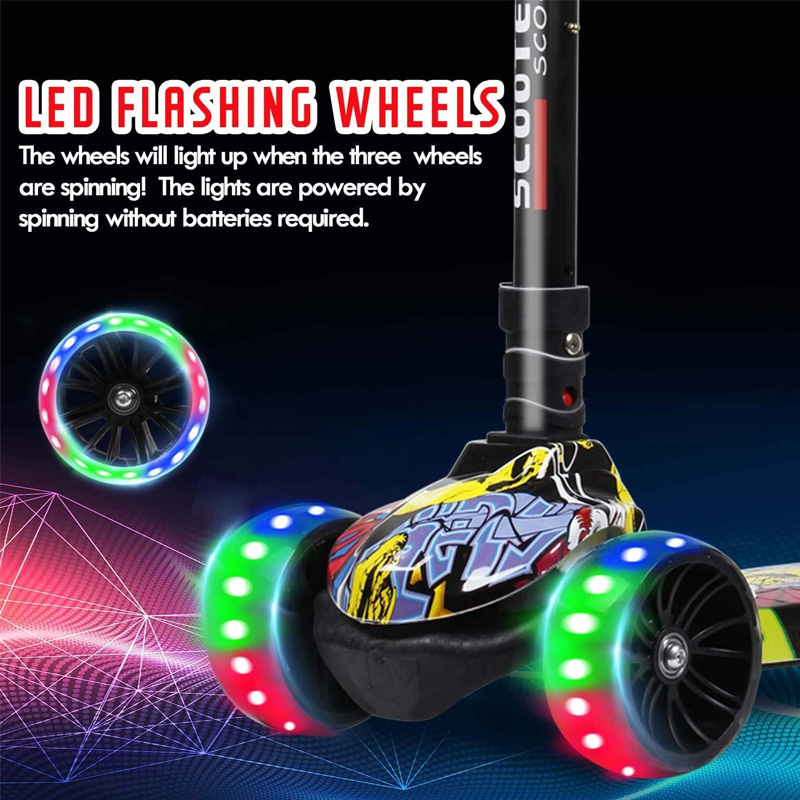
 Scoot&RideKids Child Kick Push Scooter 3 Wheels with LED Flashing Tilt Lean Boys Girls Scooter
- 4
$33.17 -
 Scoot&RideKids Scooter Child Kick Flashing LED Light Up 3 Wheel Push Adjustable Folding 3
- 0
$25.52 -
 Scoot&RideKids Scooter Child Kick Flashing LED Light Up 3 Wheel Push Adjustable Folding 2
- 0
$33.17 -
 Scoot&RideKids Scooter Teens Foldable Kick Push Scooter Adjustable Height Safe 2 Wheels
- 4
$49.99
Meet our partners and discover what powers their creativity!
When you register for a Lohas scooter, you will receive a 10% discount on your first order and can be notified of sales, new product launches and other offers in advance.


