Replacing Kids' Razor Scooter Bearing Wheels A Comprehensive Guide
Razor scooters have become a staple in outdoor activities for children around the globe. They are fun, promote physical activity, and provide a sense of freedom and adventure. However, as with any product that sees regular use, wear and tear can lead to the need for repairs or replacements. One of the most common issues parents encounter is the deterioration of the bearing wheels. Here’s a detailed guide on how to replace these wheels and ensure your child's scooter remains safe and enjoyable.
Understanding the Importance of Bearing Wheels
The bearing wheels are crucial components of a scooter, enabling smooth and efficient movement. They reduce friction between the wheel and the axle, allowing for a comfortable ride. When the bearings wear out or get damaged, you may notice the scooter becoming harder to ride, producing excessive noise, or even coming to a halt. Recognizing these signs early on can prevent further damage and ensure a safe riding experience for your child.
Tools and Materials
Before beginning the replacement process, gather the necessary tools and materials - Replacement wheels (make sure they are compatible with your Razor scooter model) - A set of tools (usually includes a Phillips or flat-head screwdriver, wrench, and possibly a hex key) - Lubricant (optional, but useful for keeping the new bearings in good condition) - A clean cloth (to wipe any dirt or debris)
Step-by-Step Guide to Replacing Bearing Wheels
1. Safety First Before you start, ensure that your child is not using the scooter. This step is crucial for their safety as well as yours.
2. Remove the Old Wheels Place the scooter upside down. Each wheel is typically held in place by bolts. Using the appropriate tool, carefully unscrew the bolts. Keep these screws in a safe place as you will need them later. Once the bolts are removed, gently pull the wheels off the axle.
lehuo replacing kids razor scooter bearing wheels
3. Inspect the Bearings After removing the wheels, inspect the bearings to determine if they are worn or damaged. If you notice rust, excessive dirt, or a grinding sound when manually spinning the bearings, it’s time for a replacement.
4. Install New Bearings If the new wheels don’t come pre-installed with bearings, carefully insert the new bearings into the wheel hubs. Ensure that they are seated properly.
5. Attach the New Wheels Place the new wheels onto the scooter’s axle. Align them with the mounting holes to ensure a secure fit. Once aligned, insert the screws and tighten them adequately without overtightening, which could cause damage.
6. Lubricate (Optional) For optimal performance, consider adding a light lubricant to the new bearings. This can help reduce friction and prolong their lifespan. Just be careful not to overdo it, as excess lubricant can attract dirt.
7. Final Check Before letting your child ride the scooter again, give everything a final check. Make sure the wheels spin freely and there are no loose screws. Test the scooter by giving it a slight push to ensure stability and smooth movement.
8. Regular Maintenance To prolong the life of the bearing wheels, regularly clean the scooter and check for any signs of wear. Keeping the wheels clear of debris and dirt can significantly enhance their performance.
Conclusion
Replacing bearing wheels on a Razor scooter is a straightforward process that most parents can handle without professional assistance. By keeping the scooter well-maintained and replacing worn-out parts timely, you can ensure a safe and fun riding experience for your child. Not only does this enhance their enjoyment, but it also instills in them a sense of responsibility for their belongings. So, gather your tools, follow the steps above, and get your child back on their scooter for more adventures!

-
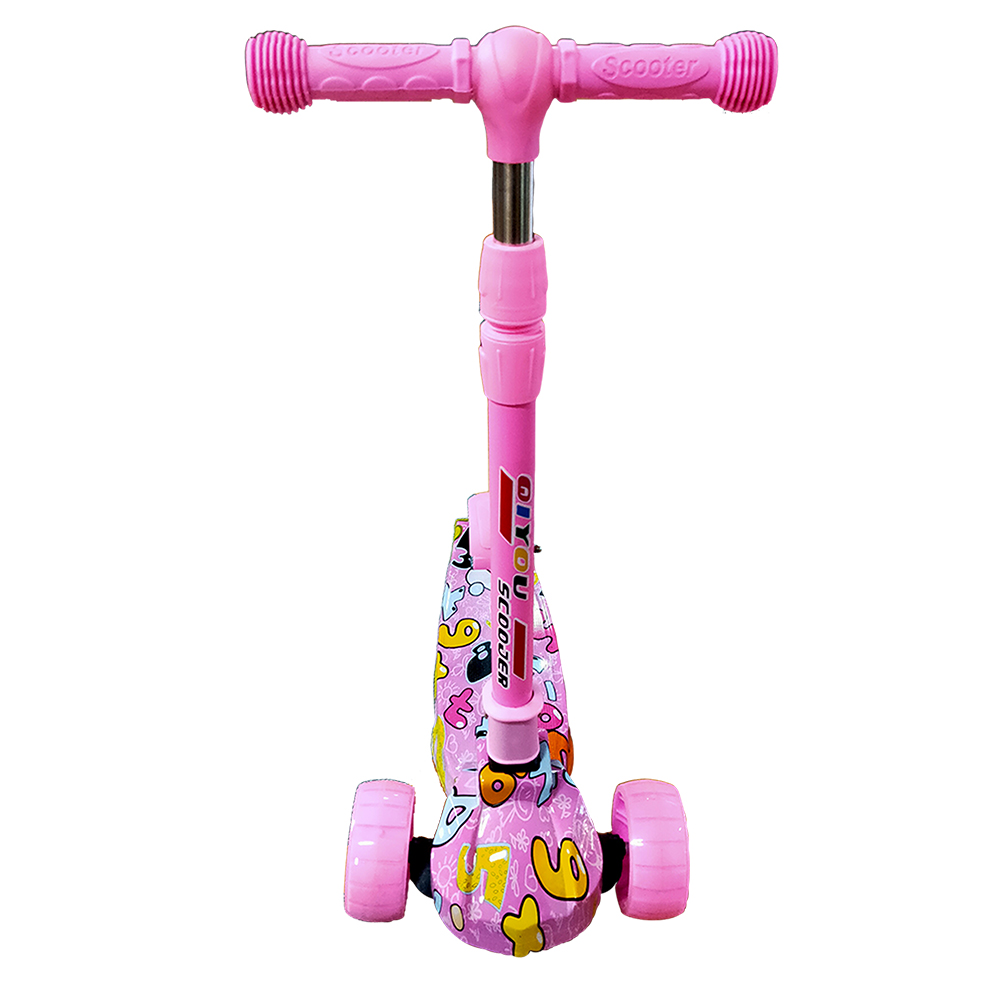
 Scoot&RideKids Child Kick Push Scooter 3 Wheels with LED Flashing Tilt Lean Boys Girls Scooter
- 4
$33.17 -
 Scoot&RideKids Scooter Child Kick Flashing LED Light Up 3 Wheel Push Adjustable Folding 3
- 0
$25.52 -
 Scoot&RideKids Scooter Child Kick Flashing LED Light Up 3 Wheel Push Adjustable Folding 2
- 0
$33.17 -
 Scoot&RideKids Scooter Teens Foldable Kick Push Scooter Adjustable Height Safe 2 Wheels
- 4
$49.99
Meet our partners and discover what powers their creativity!
When you register for a Lohas scooter, you will receive a 10% discount on your first order and can be notified of sales, new product launches and other offers in advance.


