Replacing Kids' Razor Scooter Bearing Wheels A Comprehensive Guide
Razor scooters have become a popular mode of transportation and a source of fun for kids around the world. These scooters are designed for durability and speed, but like any outdoor toy, they may require maintenance over time. One essential component that may need replacement is the bearing wheels. In this article, we will explore how to replace the bearing wheels on kids' Razor scooters, helping to ensure smooth rides and extending the life of the scooter.
Understanding the Importance of Bearings
Bearings are crucial components in scooters as they facilitate the rotation of the wheels. They reduce friction between moving parts, allowing the wheels to spin freely and smoothly. Over time, however, bearings can wear out due to regular use, exposure to dirt, and moisture, which can lead to decreased performance. Signs that it might be time to replace the bearing wheels include unusual noises, stiffness in the wheels, or decreased speed when riding.
Tools and Materials Needed
Before you begin the replacement process, gather the following tools and materials
- Replacement bearing wheels Ensure you purchase the correct size and type compatible with your Razor scooter model. - A wrench or screwdriver Depending on the scooter model, you may need either a wrench or a screwdriver to remove the wheels. - A work surface Have a clean, flat area where you can easily access your tools and work on the scooter.
Step-by-Step Guide to Replacing Bearing Wheels
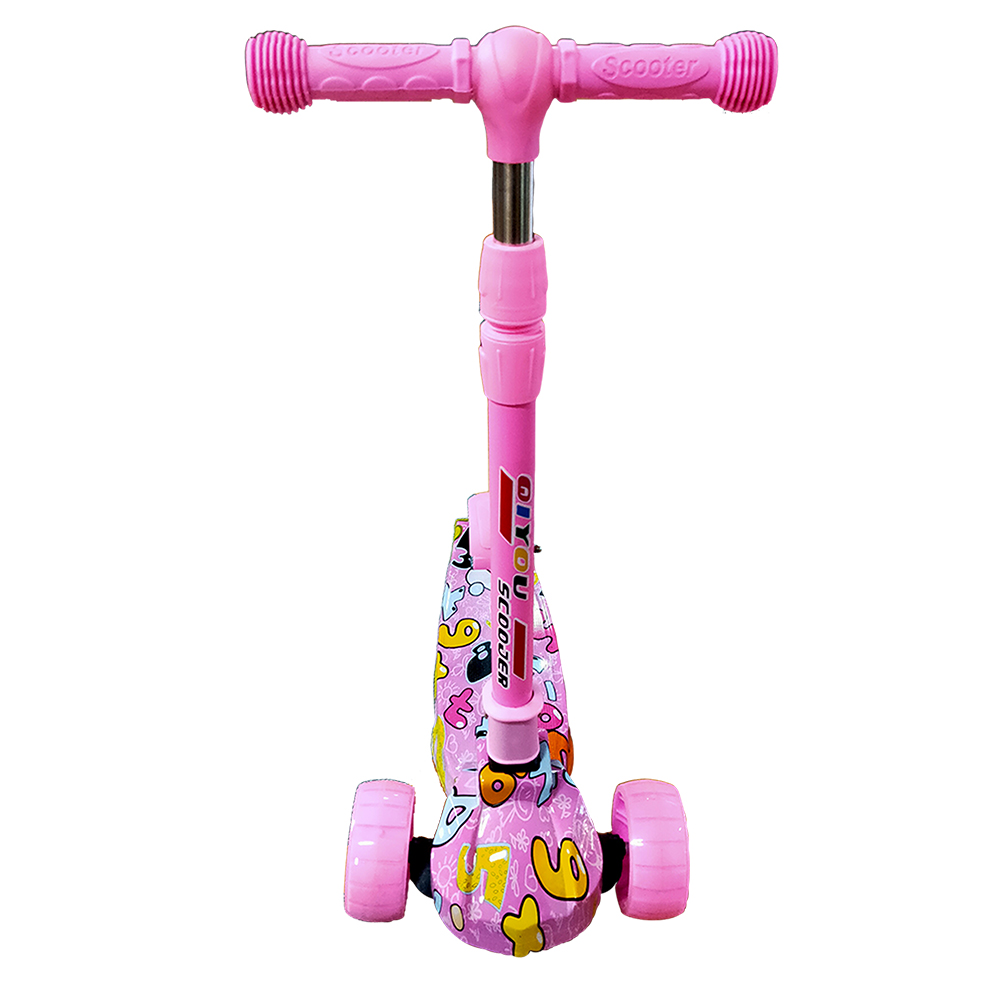
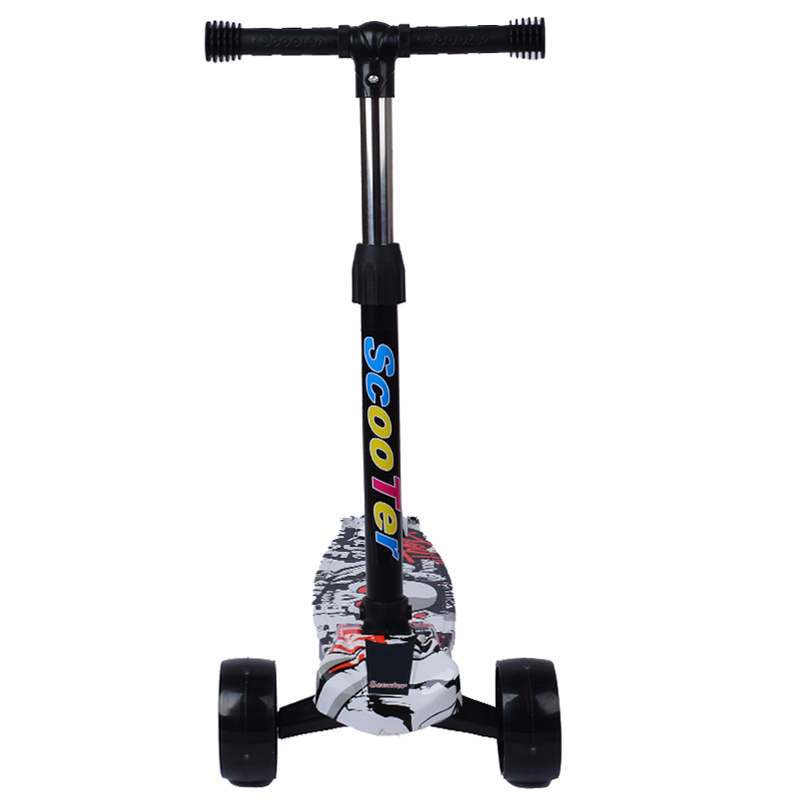
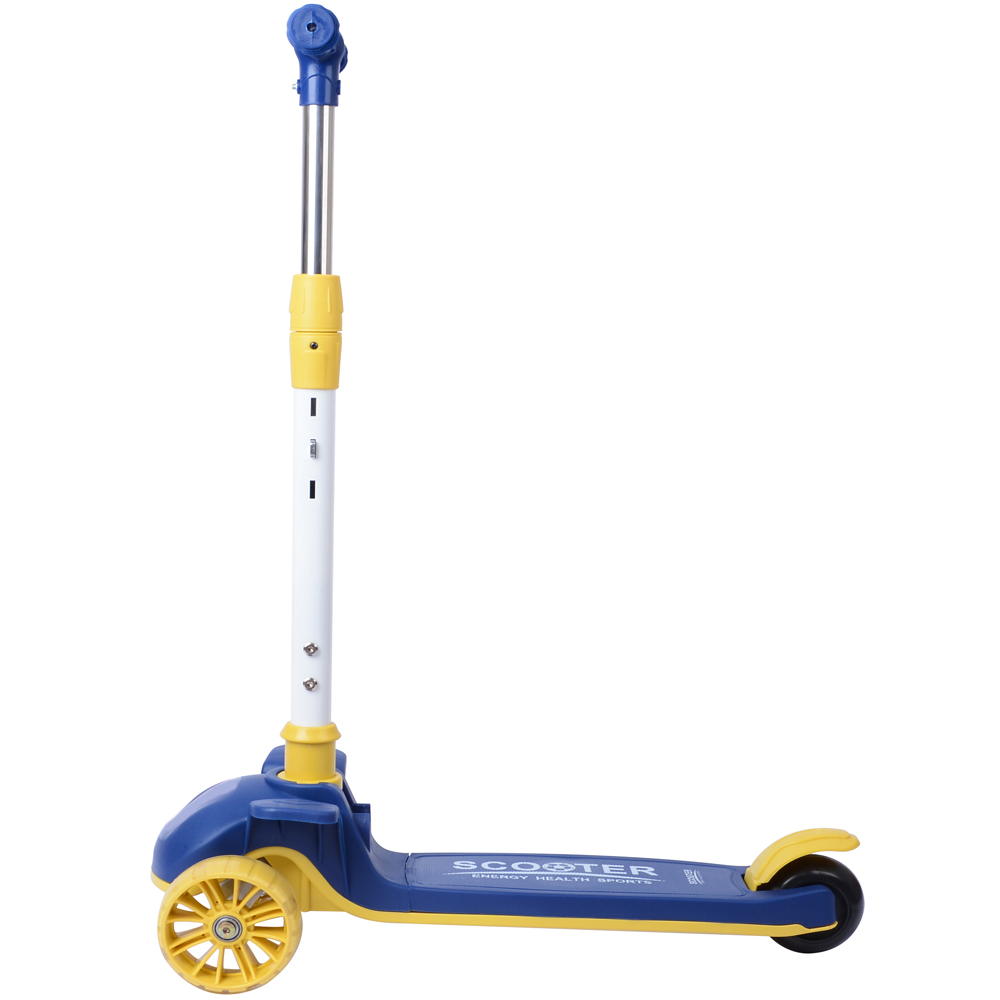
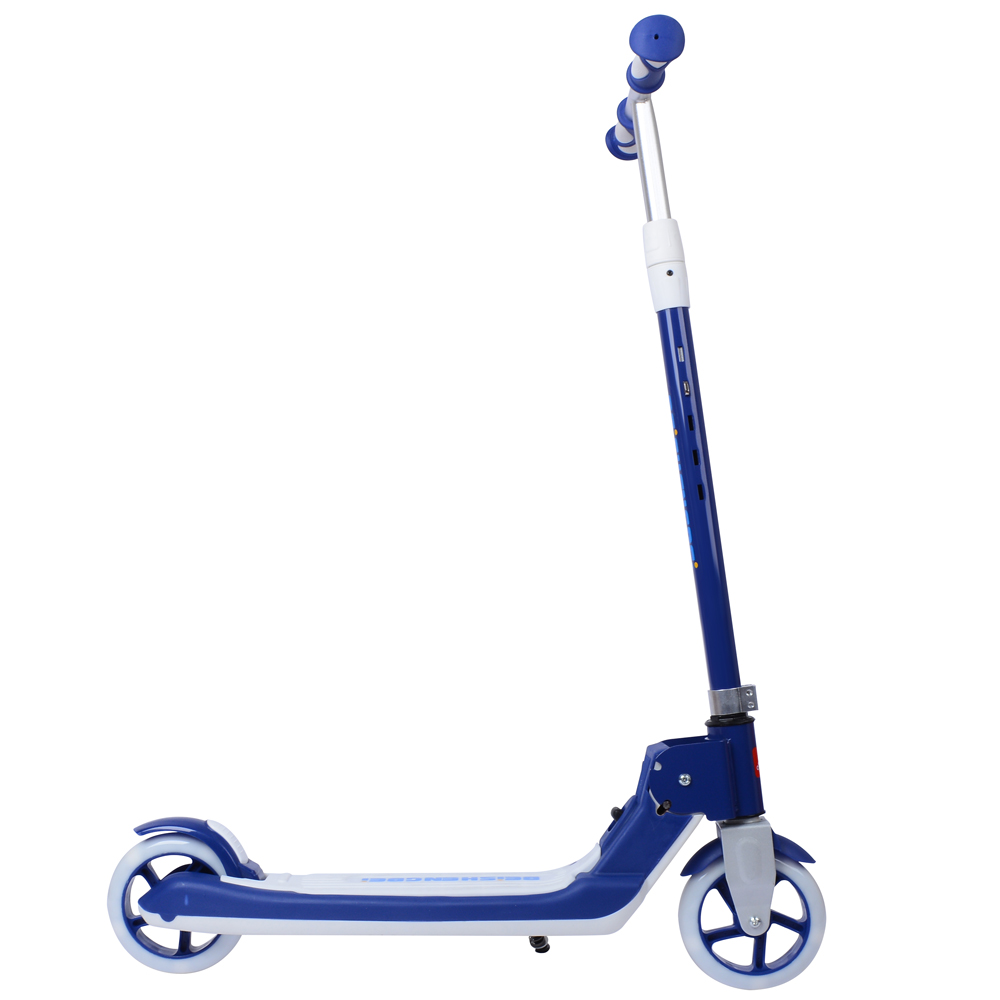
1. Prepare the Scooter Start by placing the scooter on a stable, flat surface. If necessary, raise the front end for easier access to the wheels. Be sure to inspect the entire scooter for any visible damage or wear that may require attention.
lehuo replacing kids razor scooter bearing wheels

2. Remove the Old Wheels Using the appropriate tool, carefully remove the nuts or screws securing the wheels to the scooter. Take caution not to lose any small parts during this process, as they may be needed for reassembly. If the wheels are stuck, a gentle tap can help dislodge them.
3. Inspect the Bearings With the wheels removed, check the existing bearings for damage or excessive wear. If they are significantly worn out or damaged, it’s best to replace them along with the wheels. You can typically find replacement bearings at sporting goods stores or online retailers.
4. Install New Bearings into the Wheels Take your new wheels and fit the bearings into their designated spaces. Ensure that they are seated properly to prevent future issues. Rotate the wheels gently to confirm that they spin smoothly.
5. Attach New Wheels to the Scooter Once the bearings are firmly in place, attach the new wheels to the scooter. Carefully align them and secure them with the original nuts or screws. Be sure to tighten them securely, but avoid overtightening, which could cause damage.
6. Test the Scooter After replacing the wheels, lift the scooter and give it a spin. Observe how freely the wheels turn and listen for any unusual noises. If everything seems to be in order, carefully set the scooter down.
7. Safety Checks Before letting your child use the scooter, perform a safety check. Ensure all parts are tightly secured and that the handlebars are adjusted to a comfortable height for your child.
Conclusion
Replacing the bearing wheels on a Razor scooter is a straightforward process that can greatly enhance your child's riding experience. With the right tools and a bit of patience, you can restore the scooter’s performance and increase its longevity. Regular maintenance, including checks on the bearings and wheels, will ensure that your child enjoys many pleasant rides on their Razor scooter. So don’t hesitate—grab those tools, and keep the fun rolling!
-

 Scoot&RideKids Child Kick Push Scooter 3 Wheels with LED Flashing Tilt Lean Boys Girls Scooter


- 4
$33.17 -

 Scoot&RideKids Scooter Child Kick Flashing LED Light Up 3 Wheel Push Adjustable Folding 3
- 0
$25.52 -

 Scoot&RideKids Scooter Child Kick Flashing LED Light Up 3 Wheel Push Adjustable Folding 2
- 0
$33.17 -

 Scoot&RideKids Scooter Teens Foldable Kick Push Scooter Adjustable Height Safe 2 Wheels


- 4
$49.99
Meet our partners and discover what powers their creativity!
When you register for a Lohas scooter, you will receive a 10% discount on your first order and can be notified of sales, new product launches and other offers in advance.


