Scooter for Kids Assembly A Step-by-Step Guide
As the popularity of scooters for kids continues to rise, parents often find themselves facing the challenge of assembling these exciting gifts for their children. Whether you are a first-time assembler or a seasoned pro, having a comprehensive guide can make the process easier and more enjoyable. In this article, we’ll walk you through the assembly process of a typical scooter designed for children, ensuring safety and maximum fun for your little ones.
Gather Your Tools and Materials
Before diving into assembly, make sure you have all the necessary tools and materials at hand. Most scooters come with the required tools, but it’s wise to have a Phillips screwdriver, an Allen wrench, and some safety gear such as gloves and goggles, just in case. Additionally, find a spacious, flat area to work in – a garage, driveway, or even a spacious room.
Unbox the Scooter
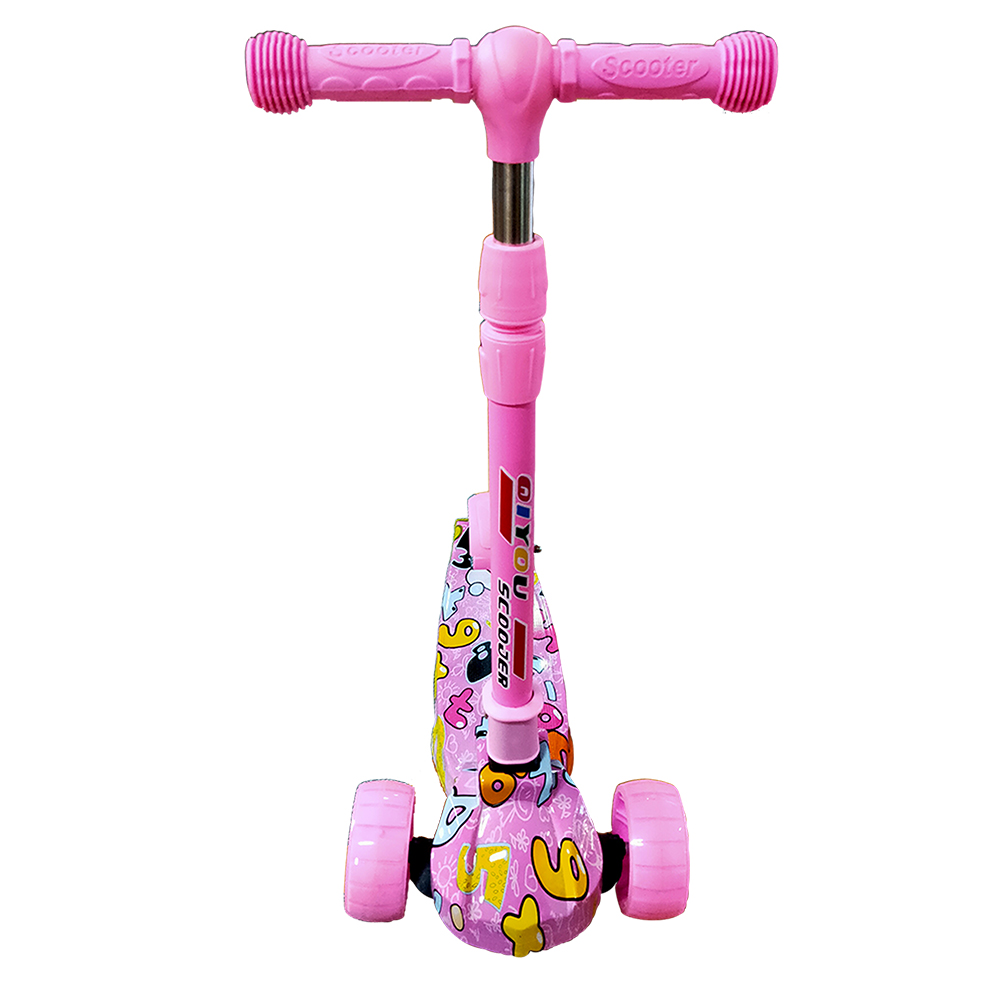
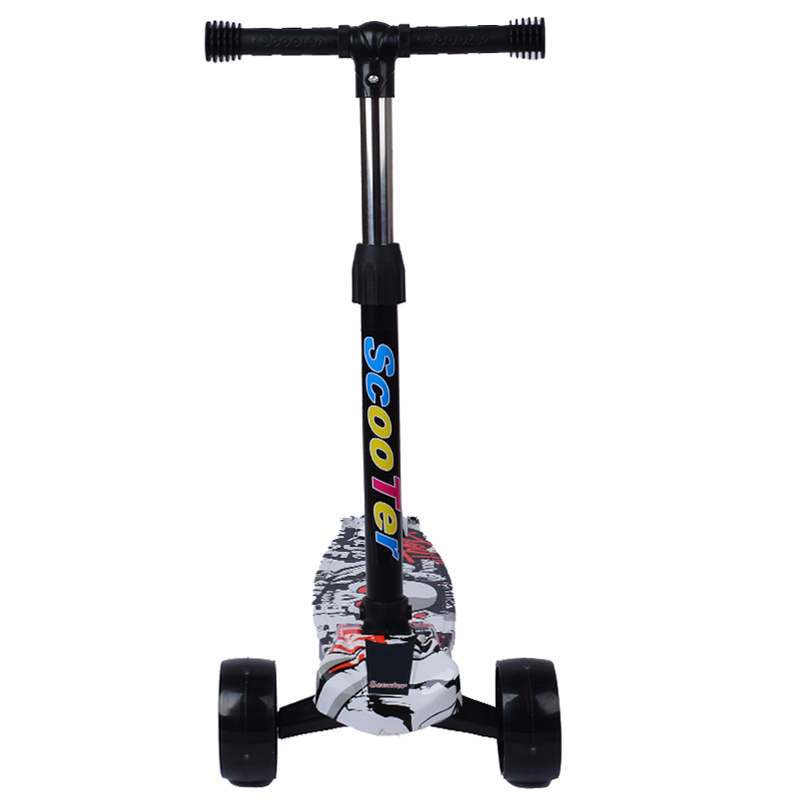
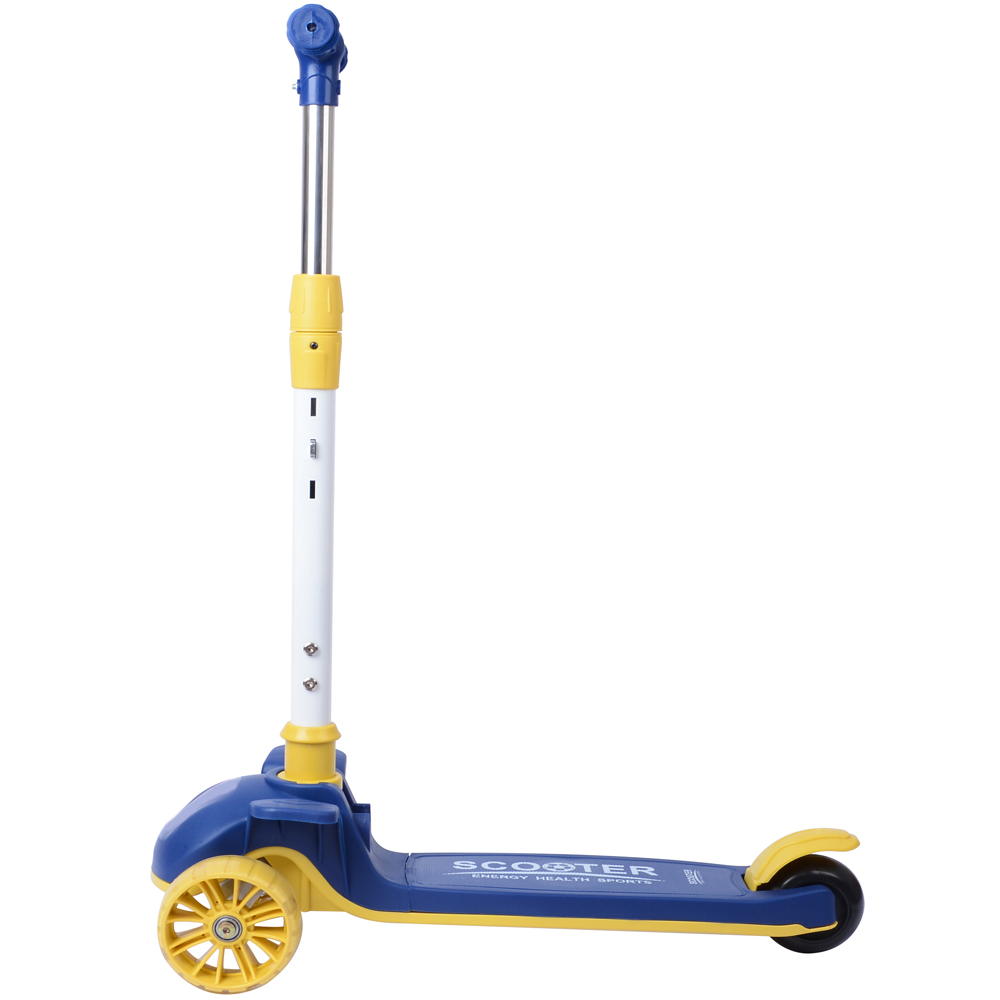
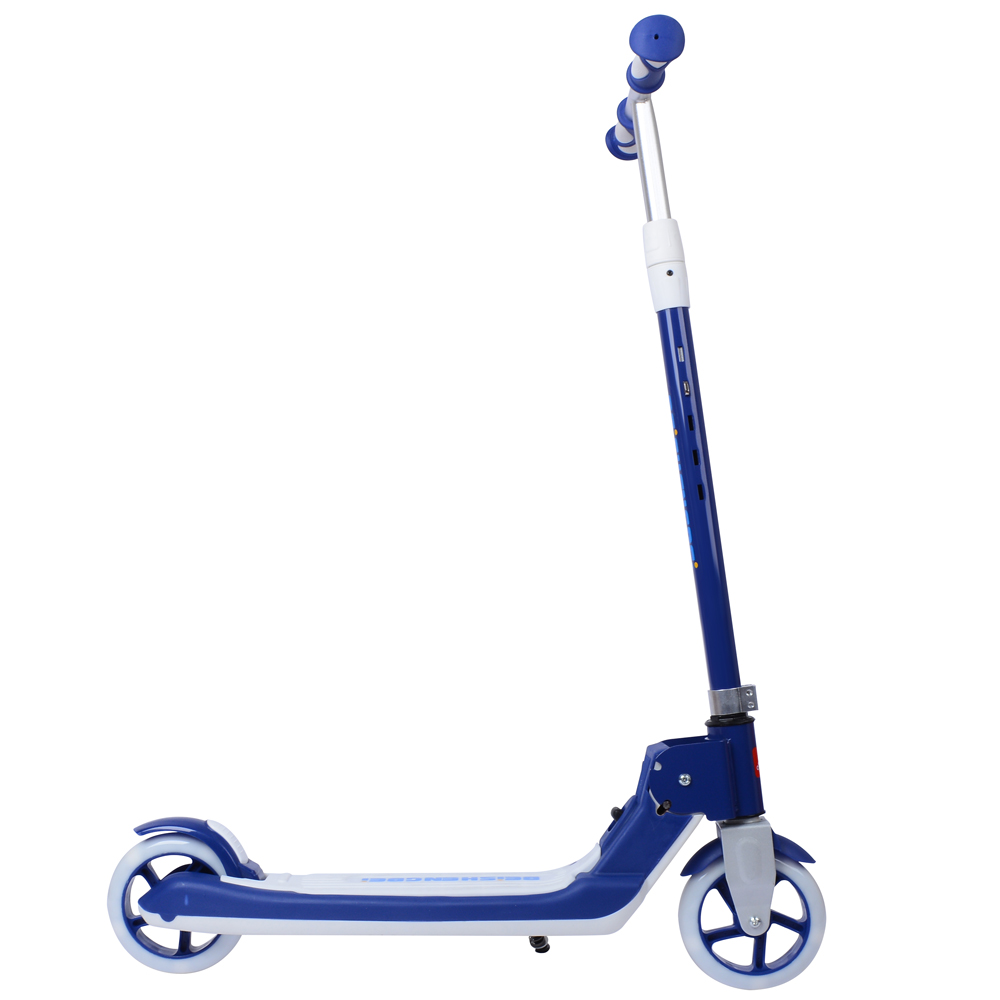
Start by carefully unboxing the scooter. Remove all components from the packaging and lay them out for easy access. Typically, a kids' scooter consists of the following parts
- Scooter deck - Handlebars - Wheel assembly (usually front and rear wheels) - Brake - Any additional accessories (like unique grips or lights)
Inspect each piece for any damage during shipping. If you notice any defects, contact the retailer immediately for replacements.
Assemble the Scooter Deck and Handlebars
Once everything is laid out, the first step is to attach the handlebars to the scooter deck. Look for an adjustment mechanism on the handlebar post, allowing you to change the height if needed. Align the handlebars with the designated slot on the deck.
1. Inserting the Handlebars Slot the handlebars into the designated opening on the scooter deck. Ensure it is pushed down securely. The height should be comfortable for your child. 2. Securing the Handlebars Use the provided screws or bolts to secure the handlebars in place. Use the Allen wrench or screwdriver to tighten these parts gently but firmly. Be careful not to overtighten, as this can cause damage.
Attach the Wheel Assembly
Next, it's time to attach the wheels to the scooter. The wheel assembly typically includes front and rear wheels, which may already be pre-installed in some models.
scooter for kids assembly

1. Front Wheel If not pre-installed, slide the front wheel onto the front fork. Most scooters use a bolt system; insert the bolt from underneath, add the washer, and then tighten with the allotted tool. Ensure the front wheel rotates freely. 2. Rear Wheel Repeat the process for the rear wheel. Check the alignment of both wheels; they should be parallel and evenly spaced.
Install the Brake
Once the wheels are attached, the scooter brake needs to be installed. The brake is an essential safety aspect of your child’s scooter.
1. Locate the Brake Mechanism Most scooters will have a component that fits over the rear wheel. 2. Secure the Brake Use the screws or bolts provided to secure the brake component. Ensure that it is positioned correctly so it can easily pinch the rear wheel when activated.
Final Checks and Adjustments
With the main components attached, it’s time for some final checks. Ensure that all screws and bolts are securely tightened. As a precautionary measure, grab the scooter and give it a gentle shake to see if everything is stable.
1. Adjust the Handlebar Height Depending on your child's height, you might need to adjust the handlebars again. You want them to be able to hold on comfortably while standing on the deck.
2. Test the Braking System Before letting your child ride, ensure the brake is working correctly. Test it out by pressing the brake with your hand.
Safety Gear and First Ride
Before your child hops on the freshly assembled scooter, ensure they are equipped with appropriate safety gear. This should include a helmet, knee pads, and elbow pads. Setting a good example by wearing protective gear can encourage your child to do the same.
Once everything checks out and all safety precautions are taken, allow your child to take their first ride. Supervising them during their initial attempts is crucial for their safety and comfort.
Conclusion
Assembling a scooter for kids doesn’t have to be a daunting task. With this step-by-step guide, you can ensure that your child’s new scooter is properly assembled and ready for fun and excitement. Watching your little one take their first ride will be a rewarding experience, and knowing that they have a safe and functional scooter brings peace of mind to any parent. Happy scooting!
-

 Scoot&RideKids Child Kick Push Scooter 3 Wheels with LED Flashing Tilt Lean Boys Girls Scooter


- 4
$33.17 -

 Scoot&RideKids Scooter Child Kick Flashing LED Light Up 3 Wheel Push Adjustable Folding 3
- 0
$25.52 -

 Scoot&RideKids Scooter Child Kick Flashing LED Light Up 3 Wheel Push Adjustable Folding 2
- 0
$33.17 -

 Scoot&RideKids Scooter Teens Foldable Kick Push Scooter Adjustable Height Safe 2 Wheels


- 4
$49.99
Meet our partners and discover what powers their creativity!
When you register for a Lohas scooter, you will receive a 10% discount on your first order and can be notified of sales, new product launches and other offers in advance.


